
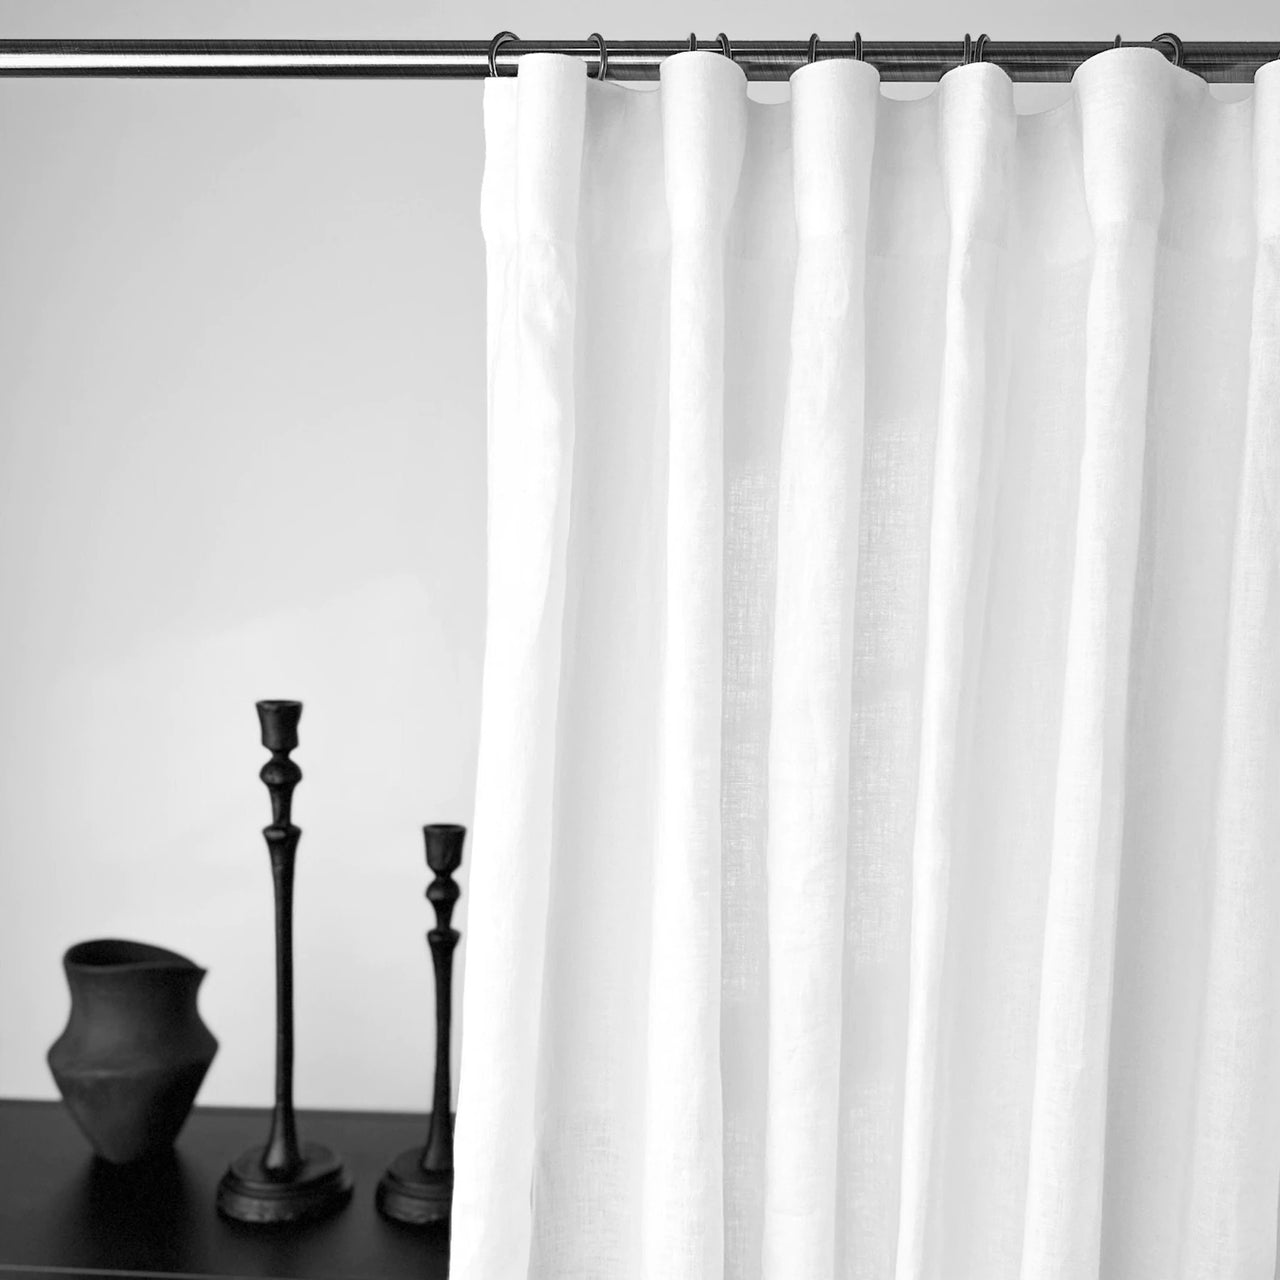
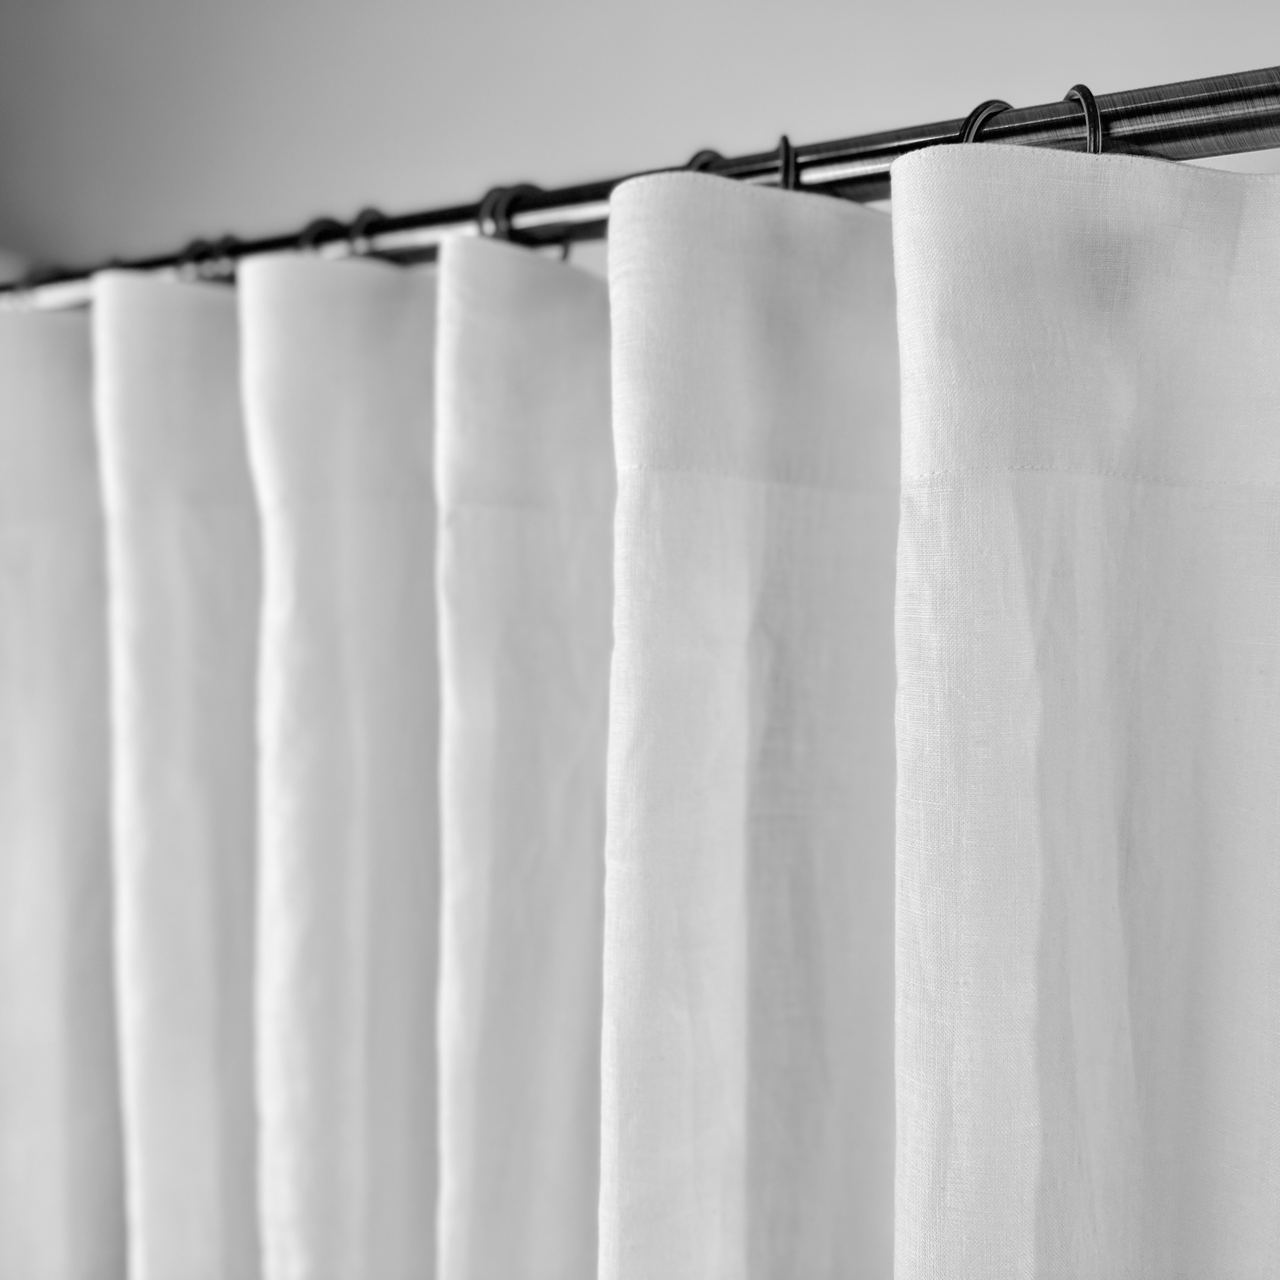
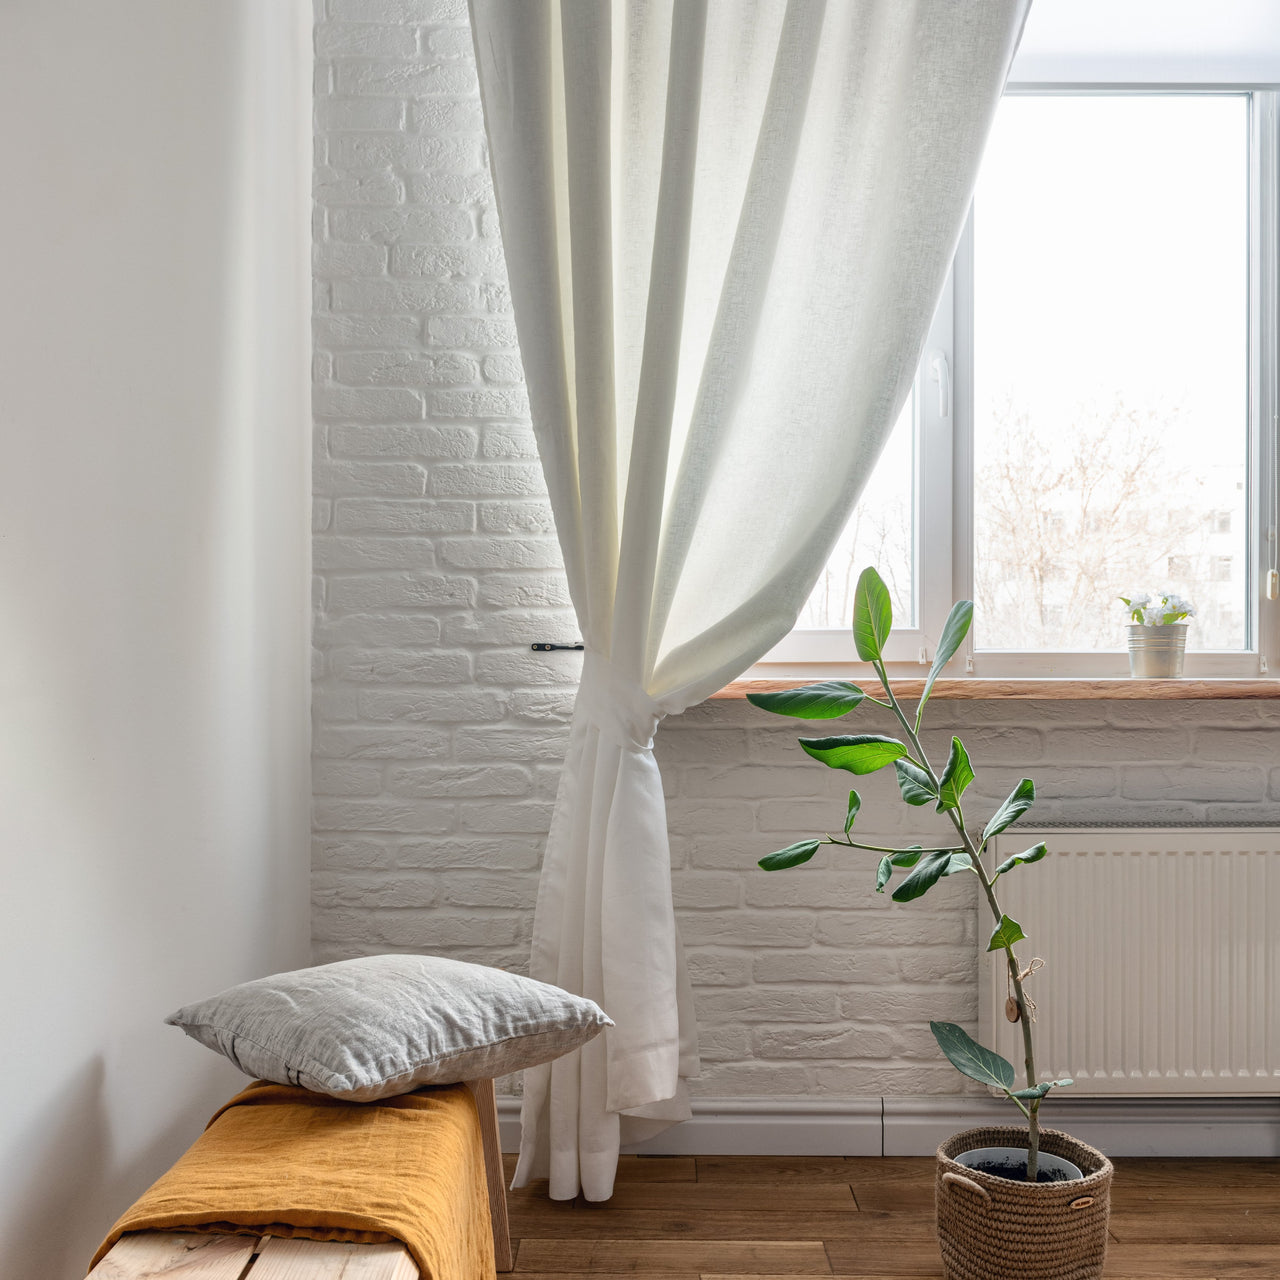
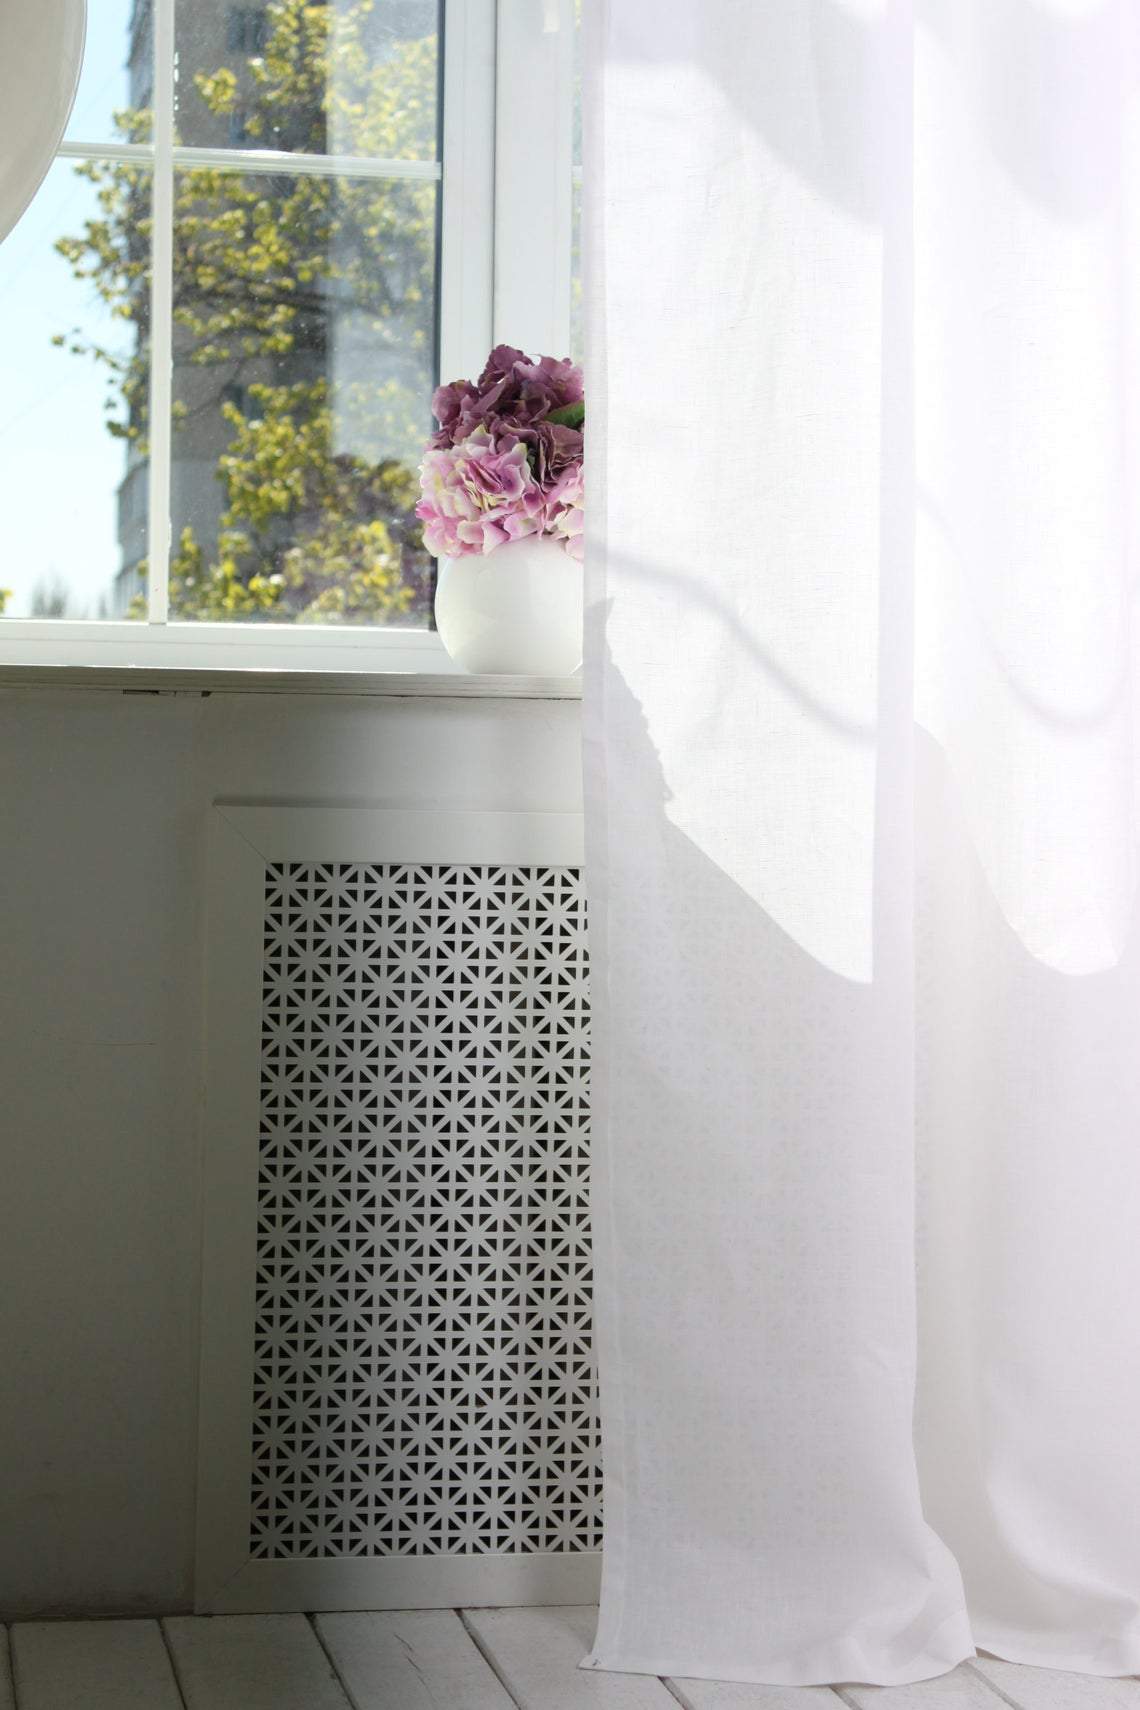
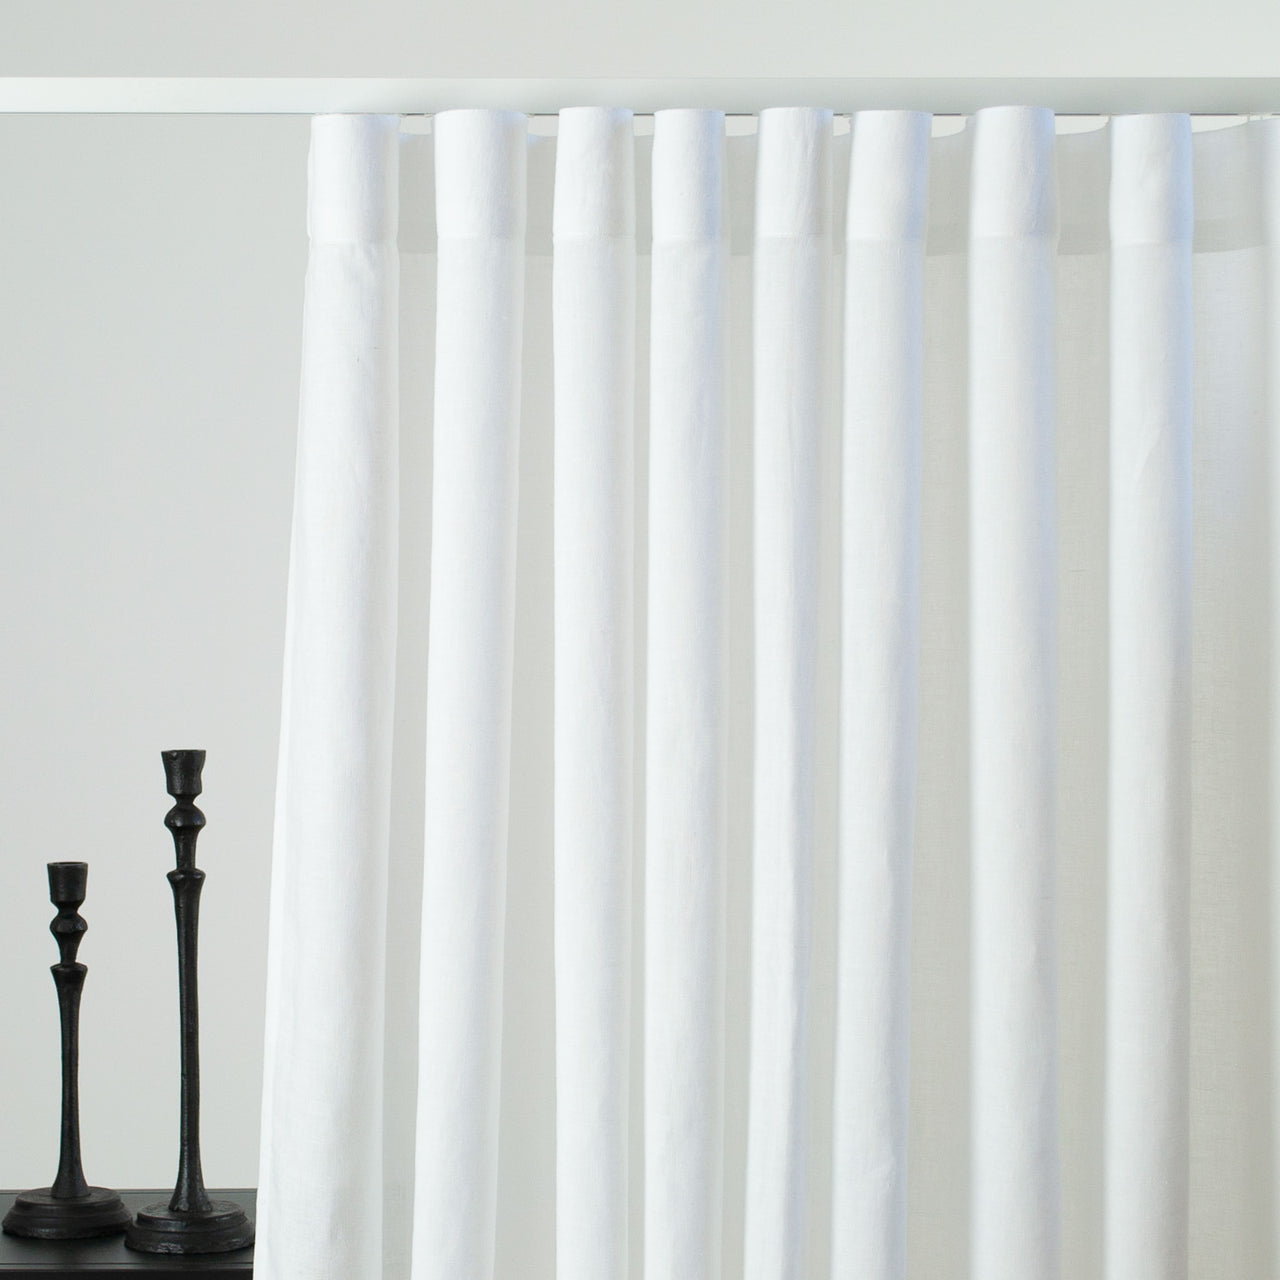
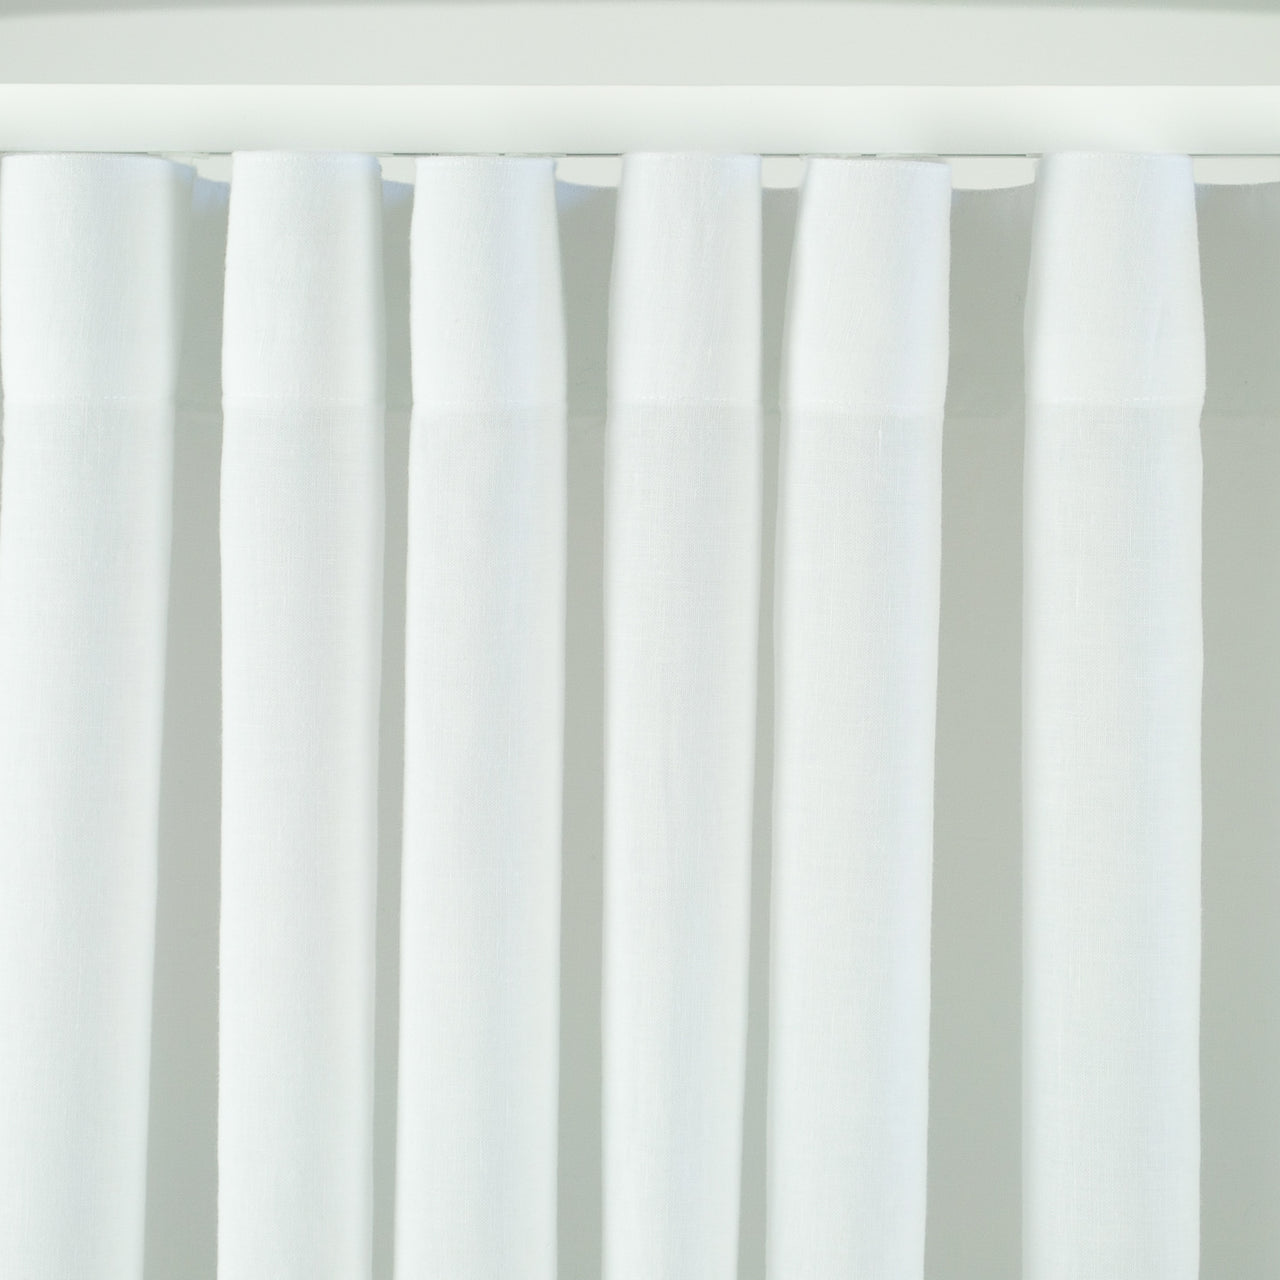
Tape Top Curtains
- S-Fold Thermal Insulated 100% Blackout Linen Curtains for Winter Cold and Summer Heat Blocking
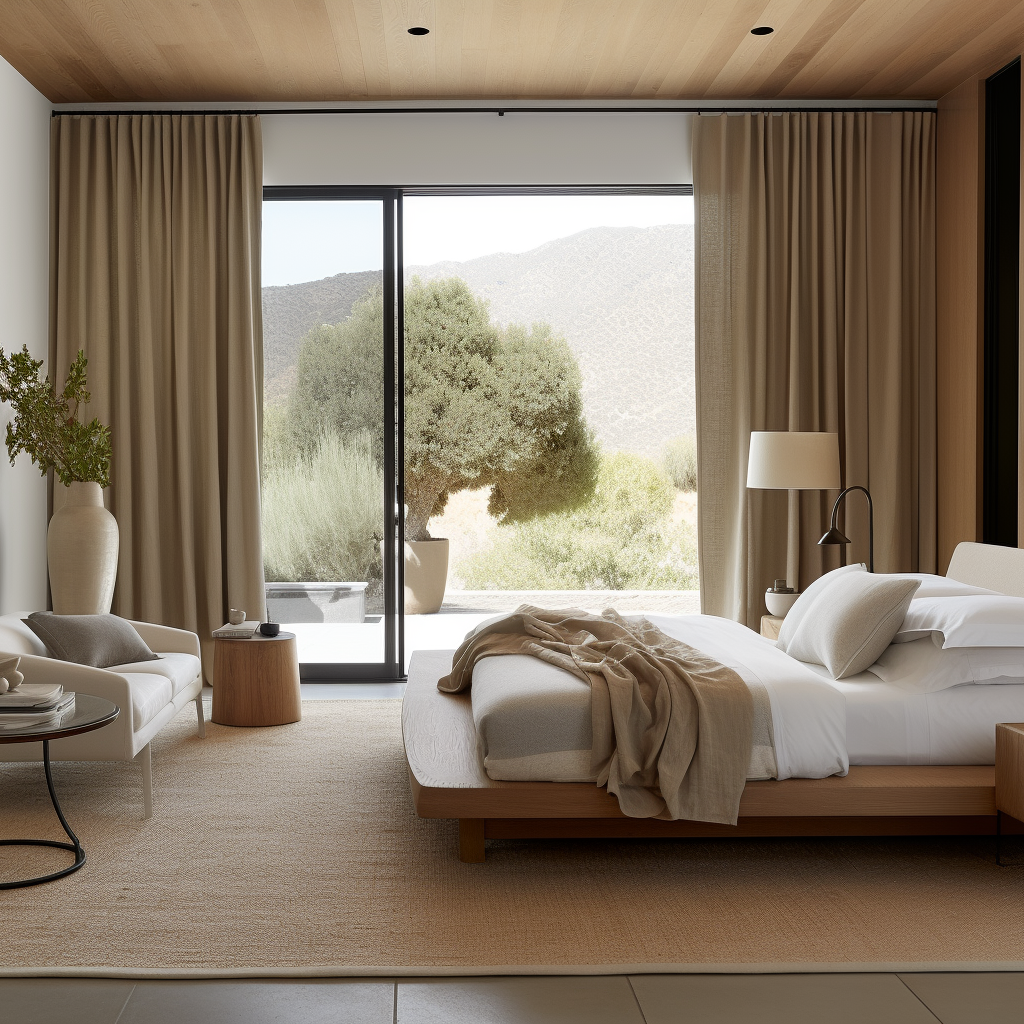
 S-Fold Thermal Insulated 100% Blackout Linen Curtains for Winter Cold and Summer Heat BlockingFrom £113.00From £113.00
 - Pinch Pleat Linen Curtain Panel - Unlined or with Cotton, Blackout, Thermal/Soundproof Lining - Heading for Rings and Hooks
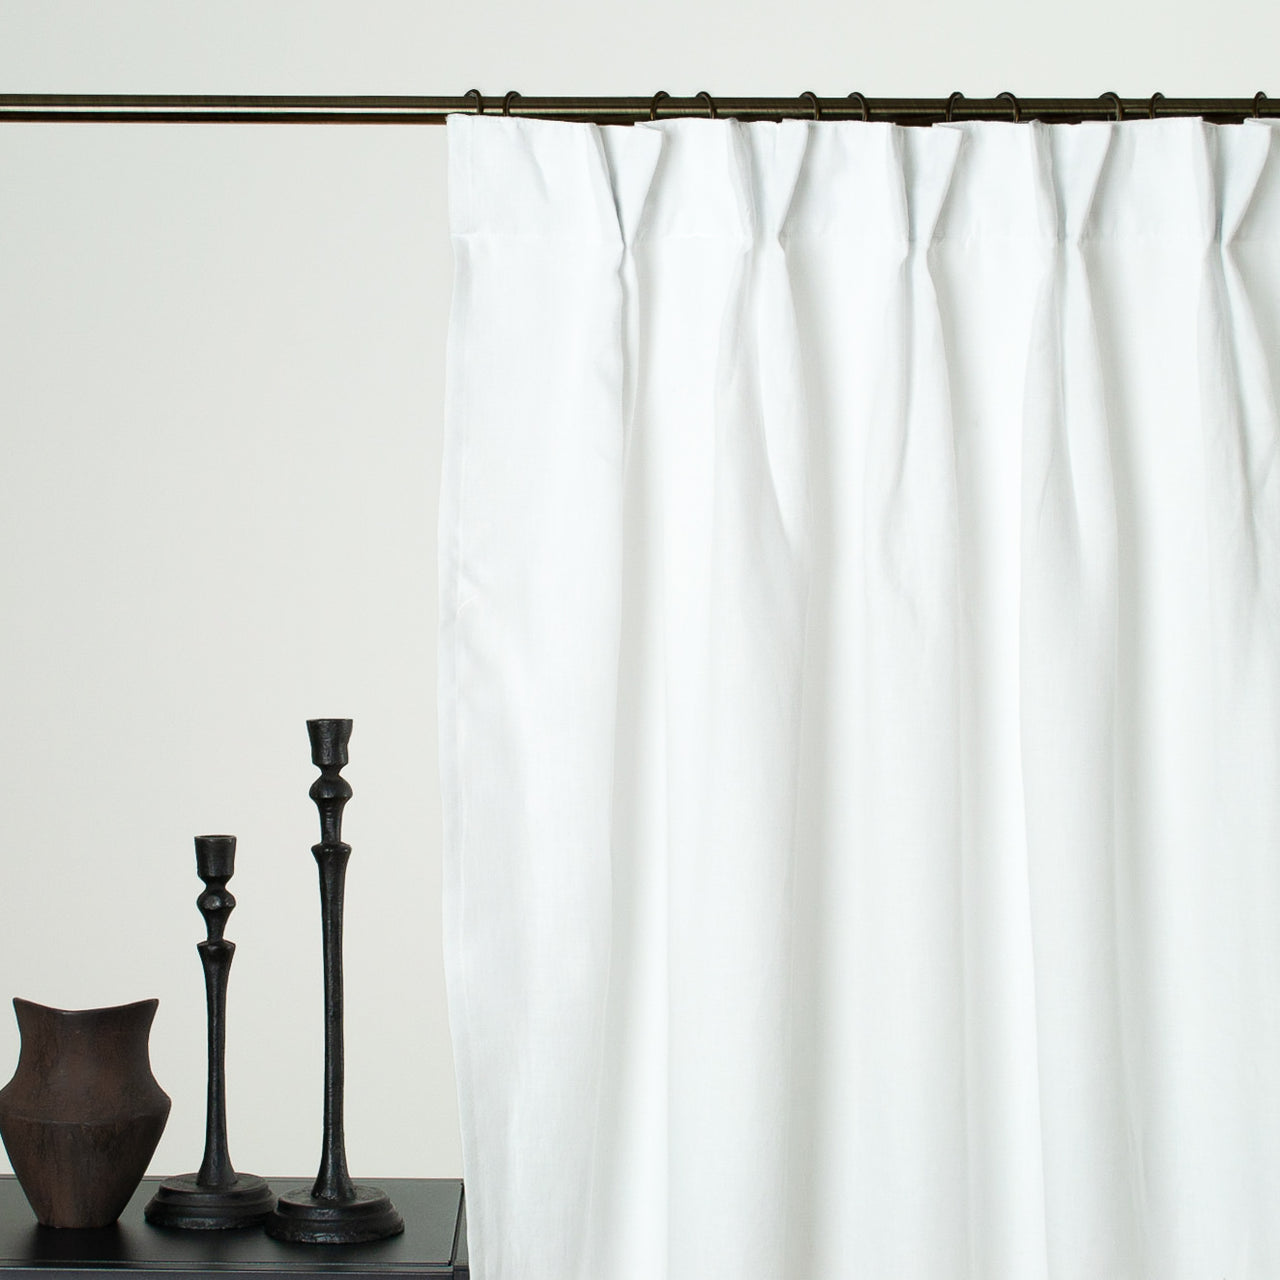
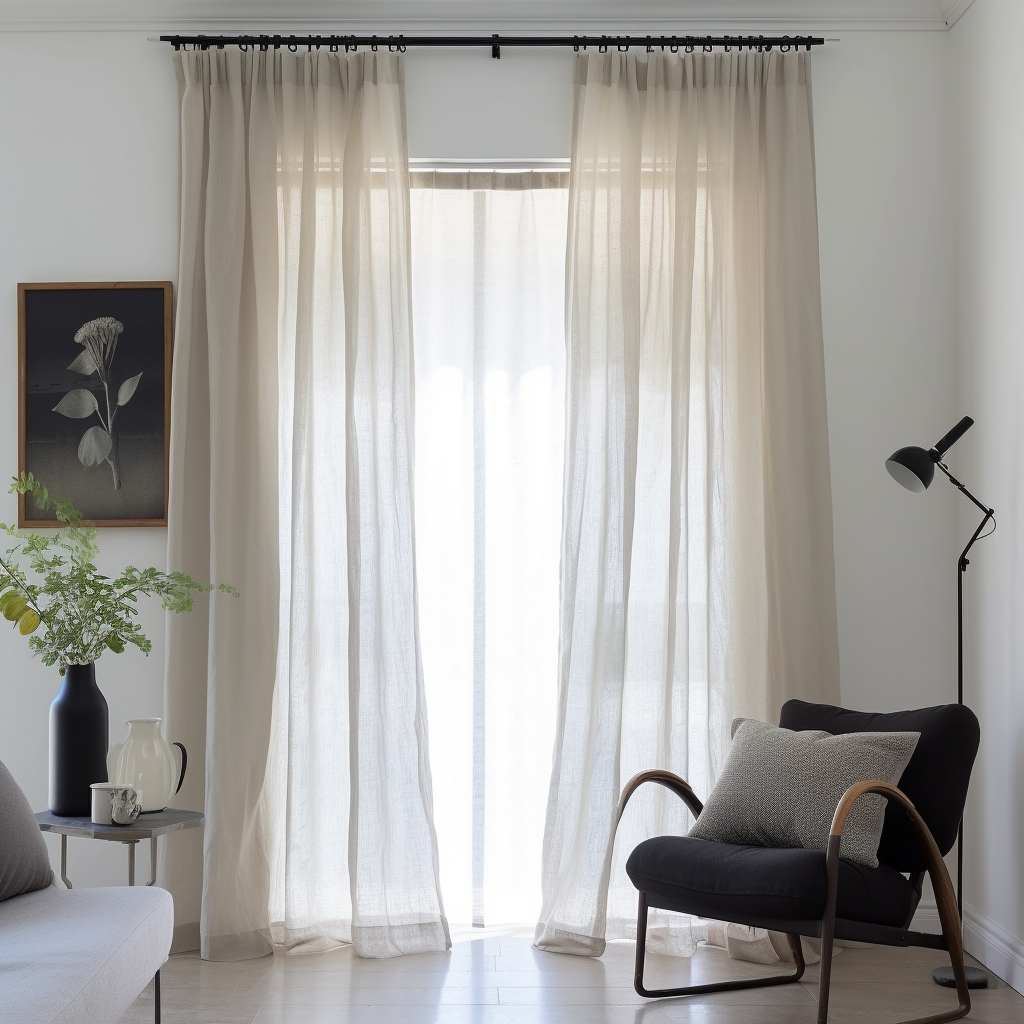
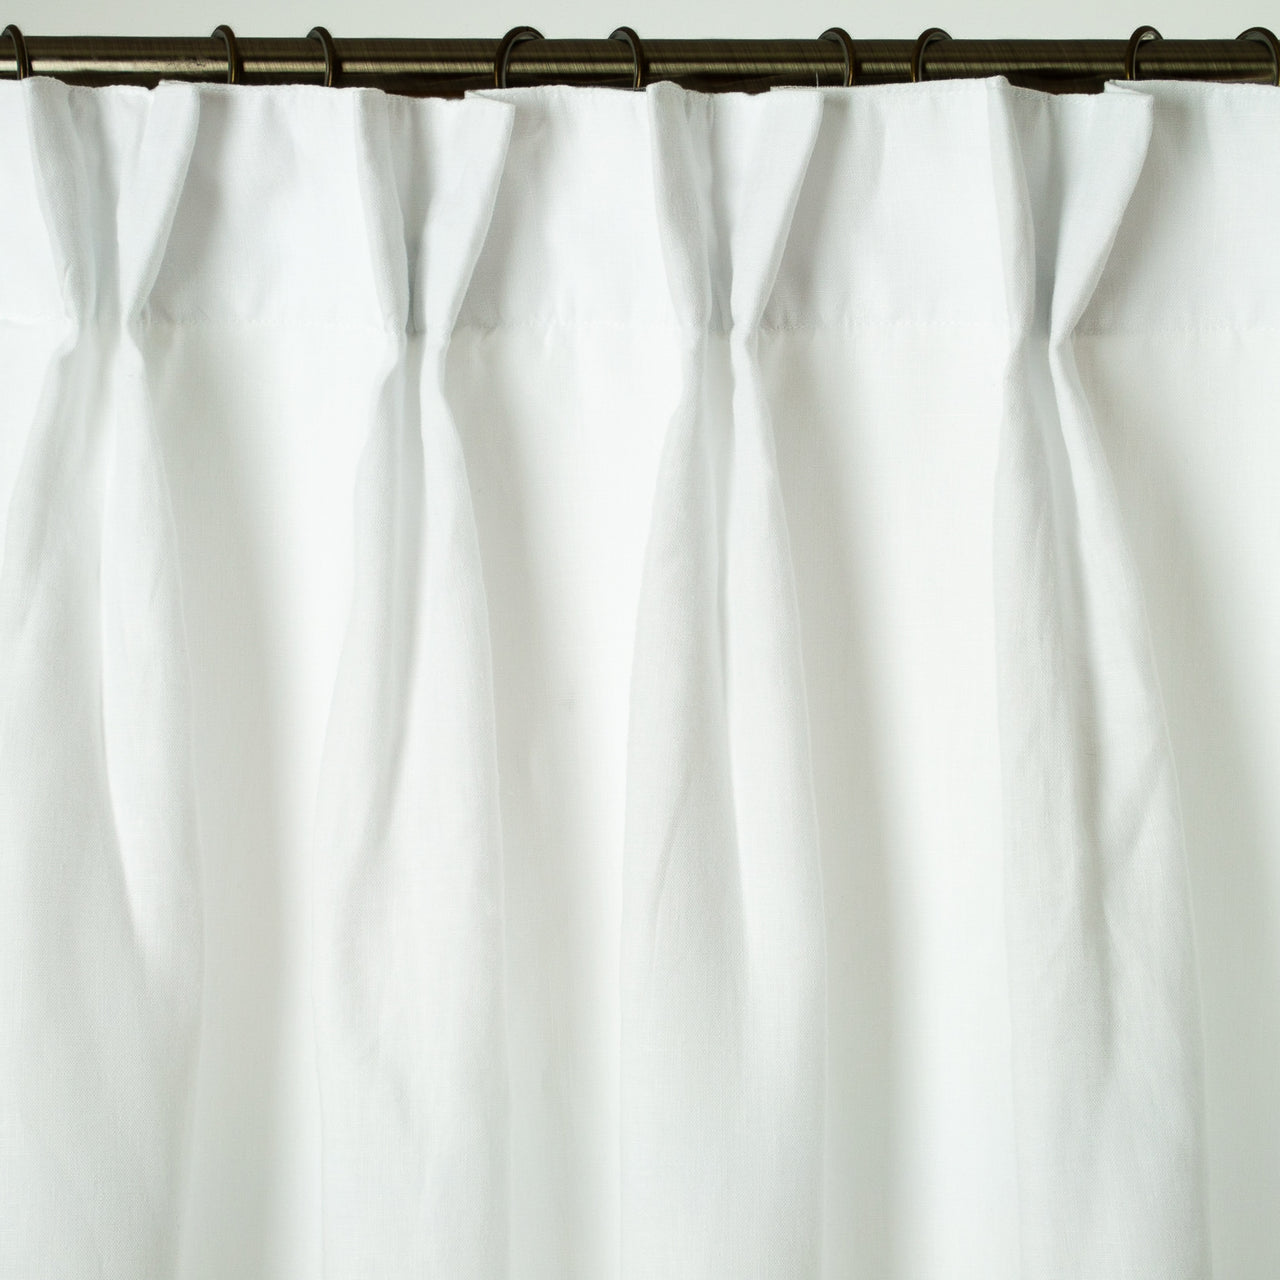 Pinch Pleat Linen Curtain Panel - Unlined or with Cotton, Blackout, Thermal/Soundproof Lining - Heading for Rings and HooksFrom £80.62From £80.62
 - Velvet Pencil Pleat Curtain Panel - Custom Width and Length - Unlined or With Blackout, Thermal or Soundproof Lining

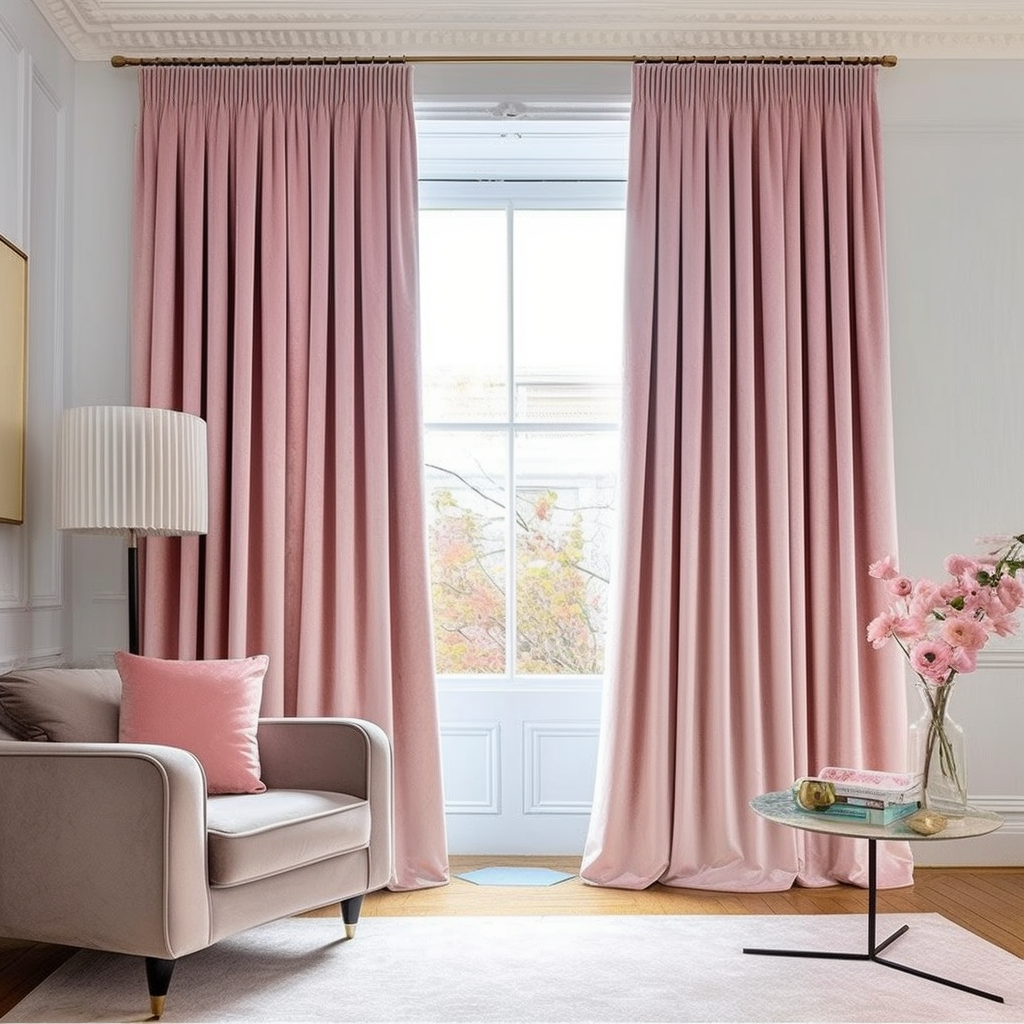 Velvet Pencil Pleat Curtain Panel - Custom Width and Length - Unlined or With Blackout, Thermal or Soundproof LiningFrom £69.00From £69.00
 - S-fold Grey Linen Curtain - Unlined or With Cotton, Blackout, Soundproof/Thermal Lining - Custom Sizes & Colours
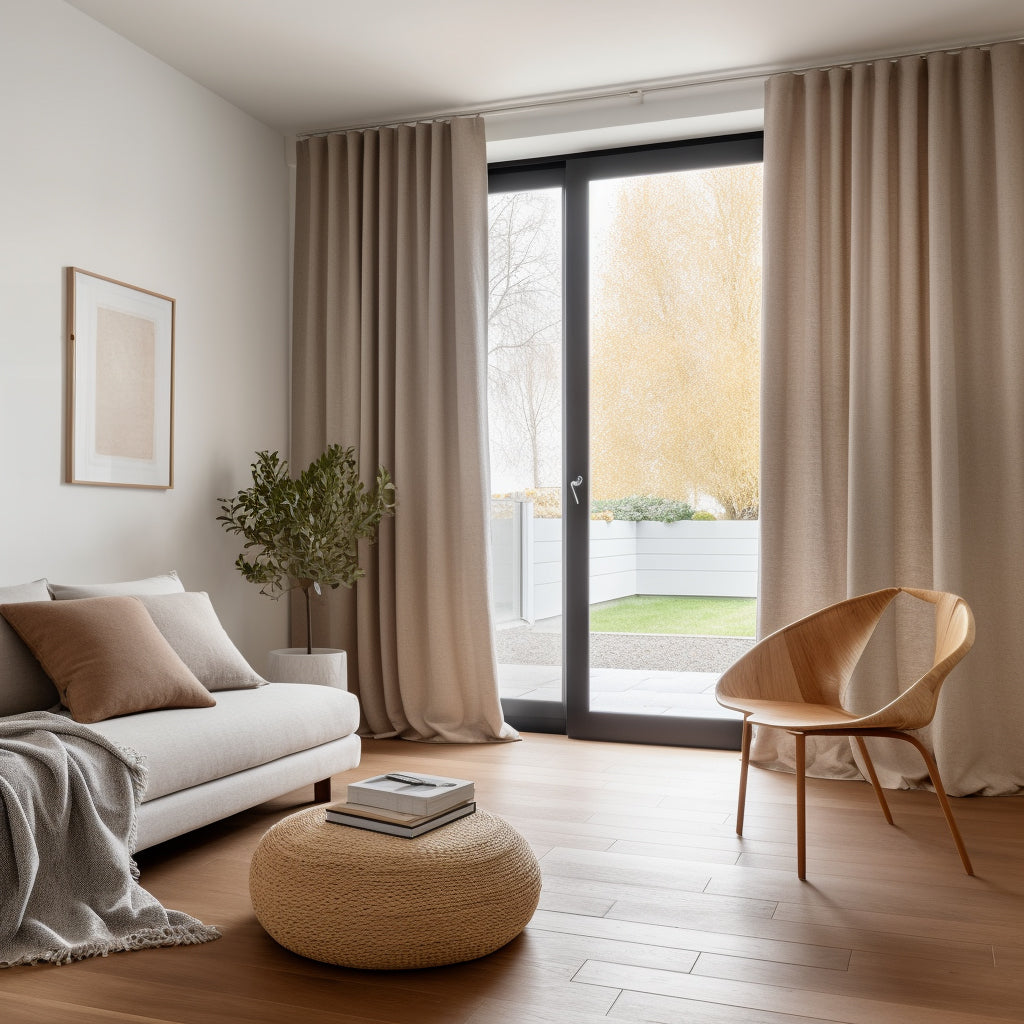
 S-fold Grey Linen Curtain - Unlined or With Cotton, Blackout, Soundproof/Thermal Lining - Custom Sizes & ColoursFrom £81.92From £81.92
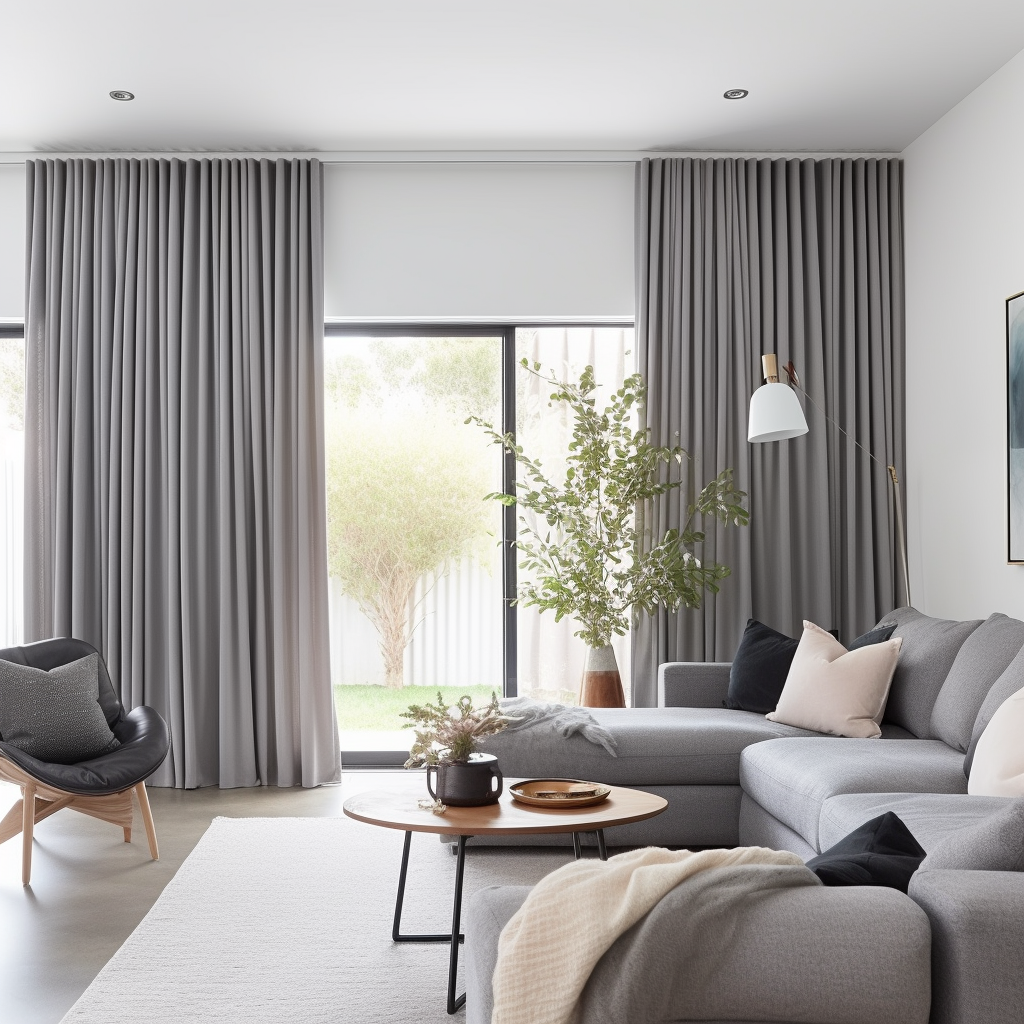
 - Pencil Pleat Blackout Linen Curtain Panel - Custom Width and Length

 Pencil Pleat Blackout Linen Curtain Panel - Custom Width and LengthFrom £111.00From £111.00
 - Aquamarine Blue Double Pleat Linen Curtain with Blackout Lining - Heading for Rings and Hooks - Custom Sizes & Colours
 Aquamarine Blue Double Pleat Linen Curtain with Blackout Lining - Heading for Rings and Hooks - Custom Sizes & ColoursFrom £109.00From £109.00
 - S-fold Linen Curtain Panel with Blackout Lining - Heading for Rings and Hooks - Linen Darkening Curtain
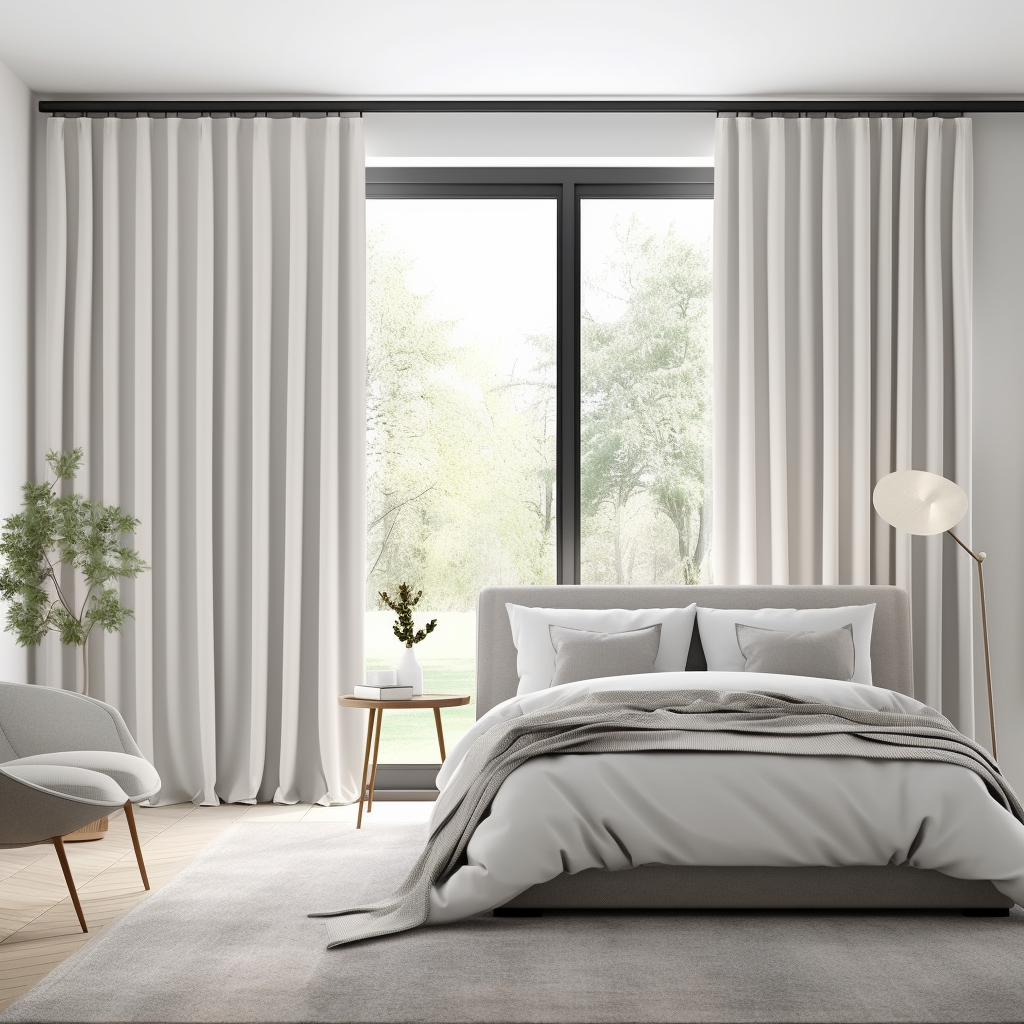
 S-fold Linen Curtain Panel with Blackout Lining - Heading for Rings and Hooks - Linen Darkening CurtainFrom £82.94From £82.94
 - S-fold Linen Curtain Panel with Blackout Lining for Dining Room - Heading for Rings and Hooks - Linen Darkening Curtain
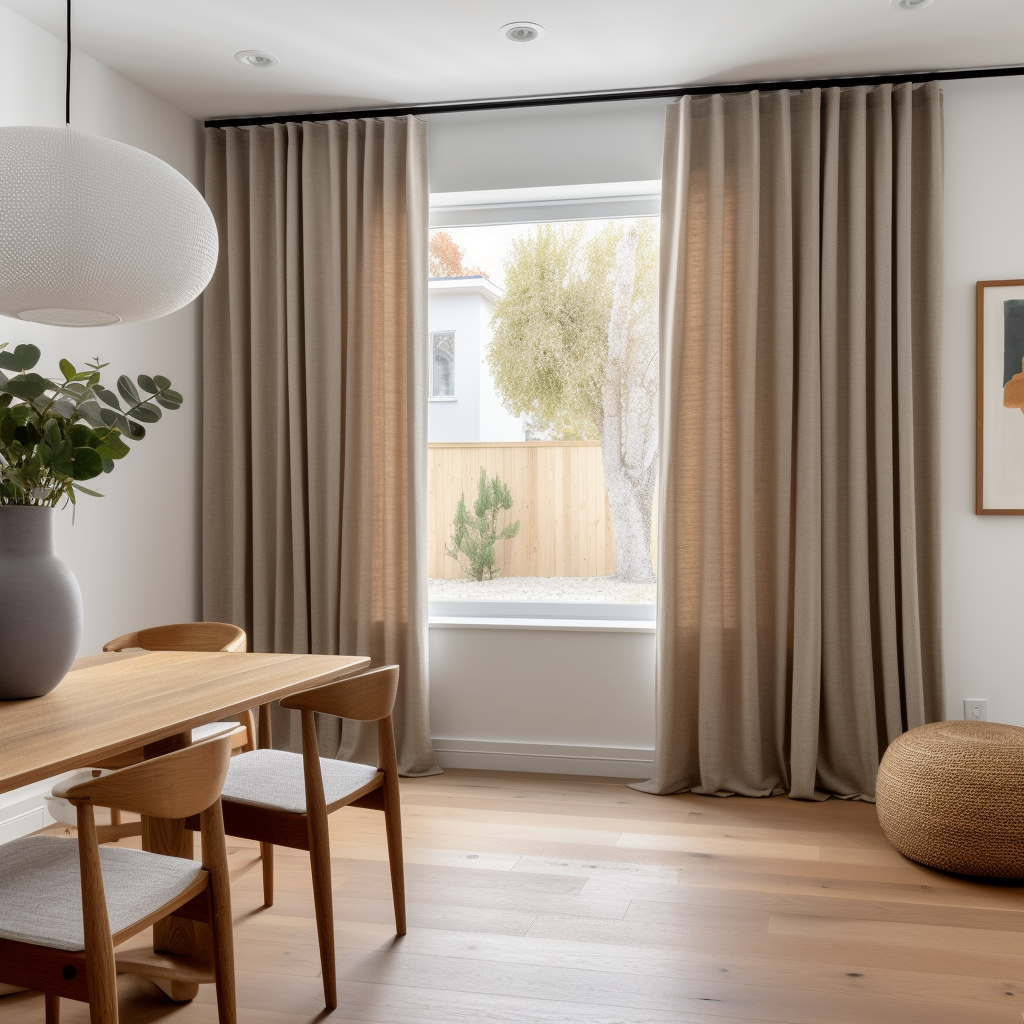
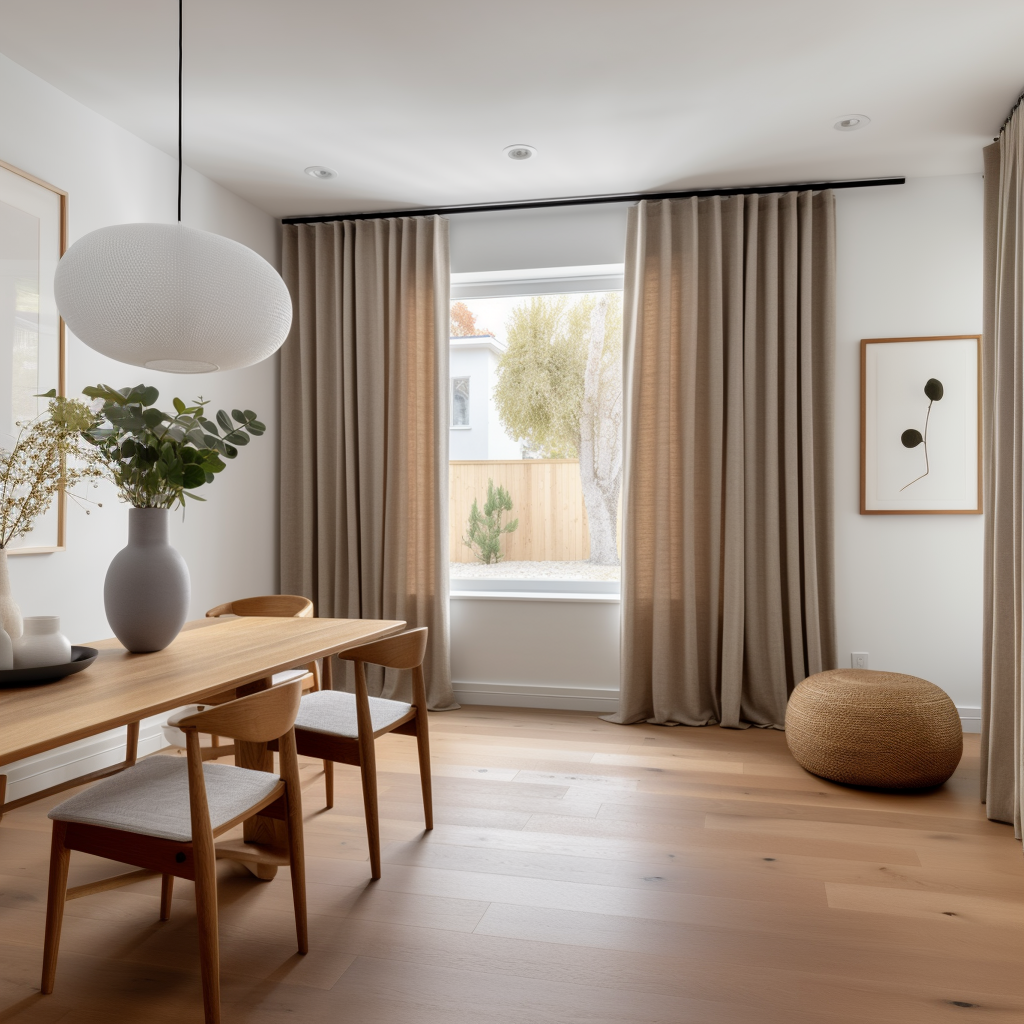 S-fold Linen Curtain Panel with Blackout Lining for Dining Room - Heading for Rings and Hooks - Linen Darkening CurtainFrom £94.00From £94.00
 - Wave Bay Window Linen Curtain Panel - Suitable for Rings, Hooks and Tracks

 Wave Bay Window Linen Curtain Panel - Suitable for Rings, Hooks and TracksFrom £87.00From £87.00
 - Aquamarine Blue S-fold Linen Curtain Panel with Blackout Lining - Heading for Rings and Hooks - Custom Sizes & Colours

 Aquamarine Blue S-fold Linen Curtain Panel with Blackout Lining - Heading for Rings and Hooks - Custom Sizes & ColoursFrom £94.00From £94.00
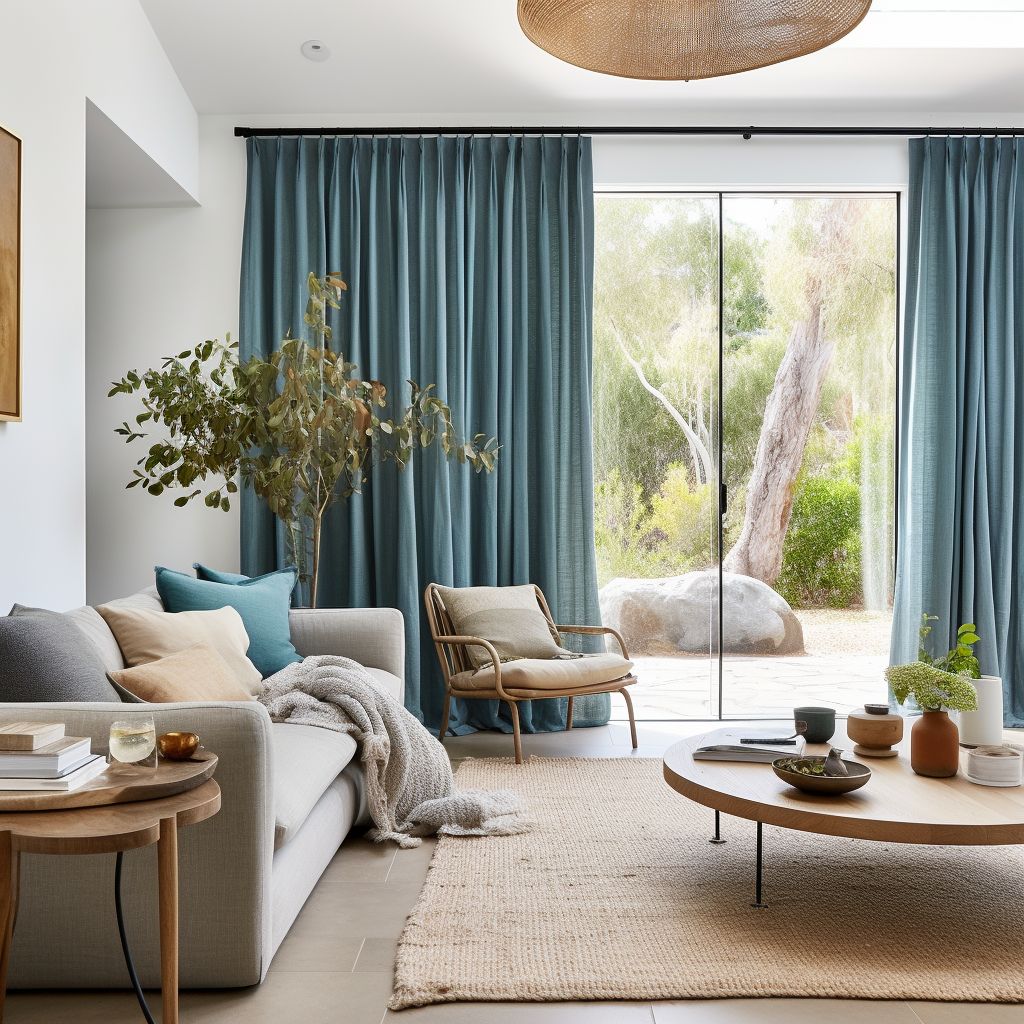
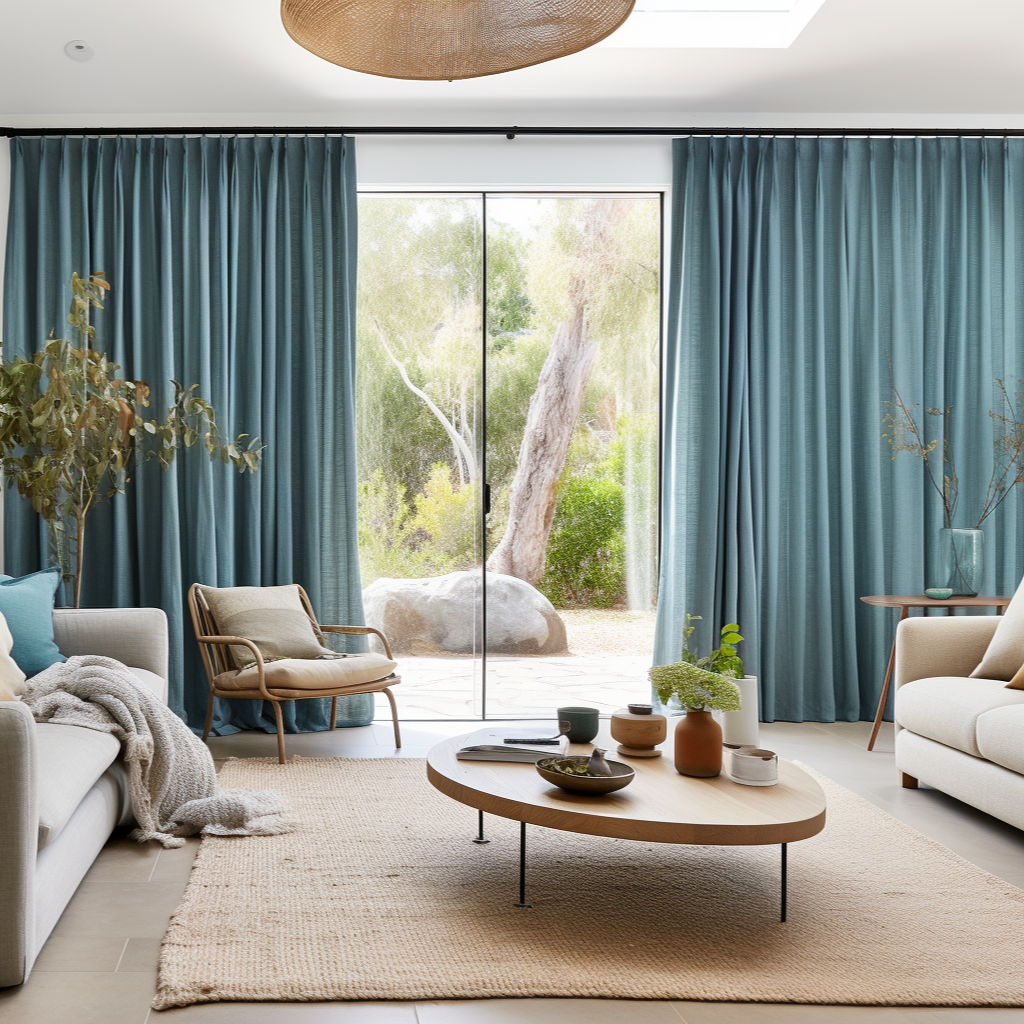
 - Black and White Frame Border S-Fold Linen Curtain Panel - Custom Width and Length
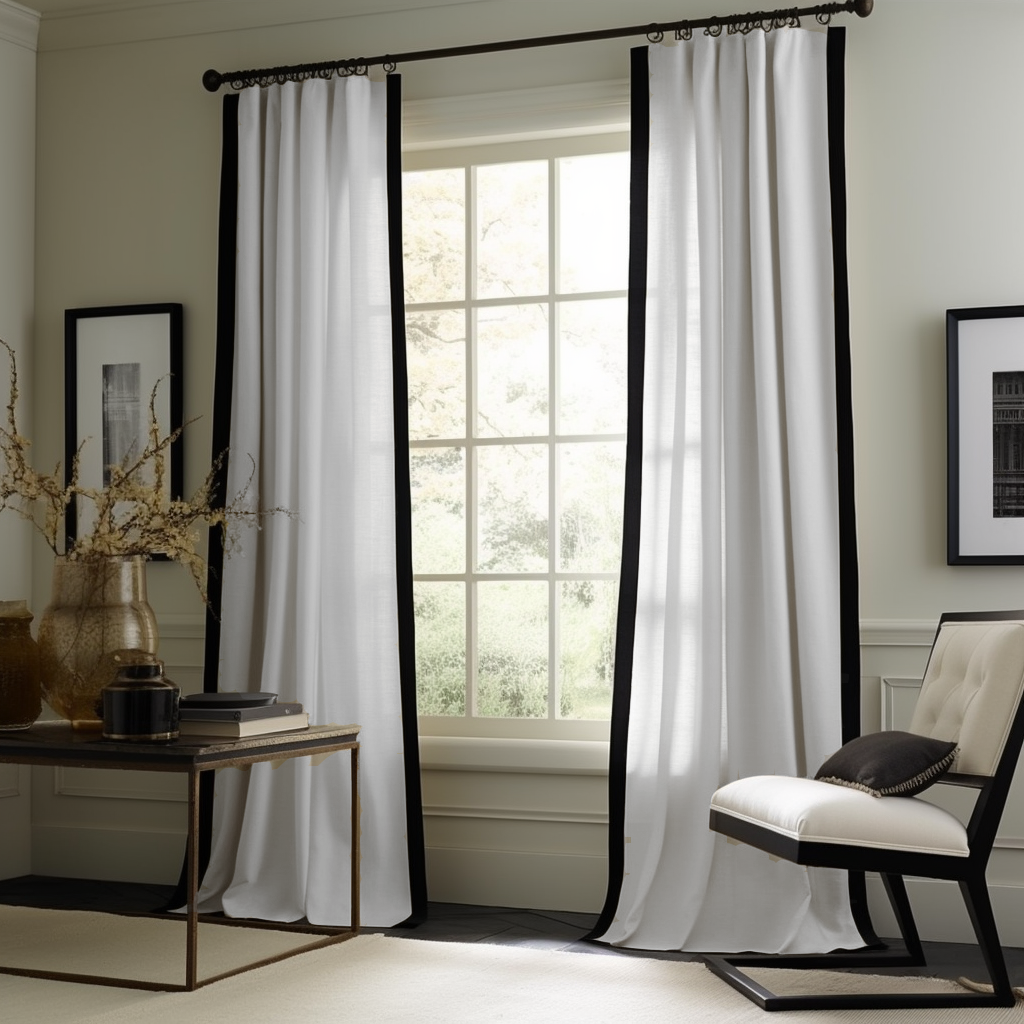
 Black and White Frame Border S-Fold Linen Curtain Panel - Custom Width and LengthFrom £96.00From £96.00
 - Black Velvet Pencil Pleat Curtains – Unlined or With Blackout, Thermal or Soundproof Lining

 Black Velvet Pencil Pleat Curtains – Unlined or With Blackout, Thermal or Soundproof LiningFrom £69.00From £69.00
 - Natural Linen Curtain - Multiway Heading - Medium and Heavy Linen
 Natural Linen Curtain - Multiway Heading - Medium and Heavy LinenFrom £62.92From £62.92
 - Dusty Pink Linen S-fold Curtain with Blackout Lining - Custom Sizes & Colours
 Dusty Pink Linen S-fold Curtain with Blackout Lining - Custom Sizes & ColoursFrom £94.00From £94.00
 - S-fold Linen Curtain Panel for Bedroom with Blackout Lining - Heading for Rings and Hooks - Linen Darkening Curtain

 S-fold Linen Curtain Panel for Bedroom with Blackout Lining - Heading for Rings and Hooks - Linen Darkening CurtainFrom £81.28From £81.28
 - S-fold Black Linen Curtain - Unlined or With Cotton, Blackout, Soundproof/Thermal Lining - Available in 24 Colours- Heading for Rings and Hooks

 S-fold Black Linen Curtain - Unlined or With Cotton, Blackout, Soundproof/Thermal Lining - Available in 24 Colours- Heading for Rings and HooksFrom £94.00From £94.00
 - Pencil Pleat Linen Curtain Panel For Tracks - Custom Lining - Custom Width and Length
 Pencil Pleat Linen Curtain Panel For Tracks - Custom Lining - Custom Width and LengthFrom £104.00From £104.00
 - Pencil Pleat Velvet Curtain Panel For Tracks - Custom Lining - Custom Width and Length
 Pencil Pleat Velvet Curtain Panel For Tracks - Custom Lining - Custom Width and LengthFrom £69.00From £69.00
 - Exclusive Fabrics Heavy Natural Linen Curtain - Multiway Hanging Tape
 Exclusive Fabrics Heavy Natural Linen Curtain - Multiway Hanging TapeFrom £80.00From £80.00
 - S-fold Linen Curtain Panel - Suitable for Rings and Hooks or Track - Unlined or With Cotton, Blackout, Soundproof/Thermal Lining - Available in 24 Colours

 S-fold Linen Curtain Panel - Suitable for Rings and Hooks or Track - Unlined or With Cotton, Blackout, Soundproof/Thermal Lining - Available in 24 ColoursFrom £64.55From £64.55
 - Wave Sage Green Blackout Linen Curtain Panel - Heading for Rings and Hooks

 Wave Sage Green Blackout Linen Curtain Panel - Heading for Rings and HooksFrom £94.00From £94.00
 - Black Velvet S-Fold Curtains – Unlined or With Blackout, Thermal or Soundproof Lining
 Black Velvet S-Fold Curtains – Unlined or With Blackout, Thermal or Soundproof LiningFrom £69.00From £69.00
 - Linen Curtain Panel - Heading with Tape for Ceiling Track - Blackout lining
 Linen Curtain Panel - Heading with Tape for Ceiling Track - Blackout liningFrom £103.00From £103.00
 - Wave Linen Curtain Panel for Living Room with Cotton Lining - Suitable for Rings or Tracks

 Wave Linen Curtain Panel for Living Room with Cotton Lining - Suitable for Rings or TracksFrom £81.00From £81.00
 - Pinch Pleat Aquamarine Blue Linen Curtain Panel - Heading for Rings and Hooks - Custom Sizes & Colours

 Pinch Pleat Aquamarine Blue Linen Curtain Panel - Heading for Rings and Hooks - Custom Sizes & ColoursFrom £104.00From £104.00
 - Pencil Pleat Linen Curtain Panel with Cotton Lining - Heading for Rings and Hooks - Lined Linen Privacy Curtain

 Pencil Pleat Linen Curtain Panel with Cotton Lining - Heading for Rings and Hooks - Lined Linen Privacy CurtainFrom £46.61From £46.61
 - Dusty Pink Wave Linen Curtain Panel - Suitable for Rings and Hooks or Track - Unlined or With Cotton, Blackout, Soundproof/Thermal Lining - Available in 24 Colours

 Dusty Pink Wave Linen Curtain Panel - Suitable for Rings and Hooks or Track - Unlined or With Cotton, Blackout, Soundproof/Thermal Lining - Available in 24 ColoursFrom £87.00From £87.00
 - Sage Green Pencil Pleat Linen Curtain - Ready-Made & Made-to-Measure - Unlined, Blackout, Thermal or Cotton Lining - Suitable for Tracks, Rings, and Hooks

 Sage Green Pencil Pleat Linen Curtain - Ready-Made & Made-to-Measure - Unlined, Blackout, Thermal or Cotton Lining - Suitable for Tracks, Rings, and HooksFrom £79.64From £79.64
 - Pencil Pleat Linen Curtain Panel - Heading for Rings and Hooks - Unlined Linen Privacy Curtain
 Pencil Pleat Linen Curtain Panel - Heading for Rings and Hooks - Unlined Linen Privacy CurtainFrom £32.28From £32.28
 - Sage Green S-fold Linen Curtain Panel - Suitable for Rings and Hooks or Track

 Sage Green S-fold Linen Curtain Panel - Suitable for Rings and Hooks or TrackFrom £87.00From £87.00
 - Linen Curtain for Ceiling Track with Cotton Lining - Lined Curtain Panels - White, Natural, Grey Colours
 Linen Curtain for Ceiling Track with Cotton Lining - Lined Curtain Panels - White, Natural, Grey ColoursFrom £81.00From £81.00
 - Aquamarine Wave Linen Curtain Panel - Suitable for Rings and Hooks or Track

 Aquamarine Wave Linen Curtain Panel - Suitable for Rings and Hooks or TrackFrom £87.00From £87.00
 - Voile Pencil Pleat Linen Curtain Panel - Custom Width and Length
 Voile Pencil Pleat Linen Curtain Panel - Custom Width and LengthFrom £66.00From £66.00
 - Pinch Pleat Linen Curtain Panel for Living Room with Cotton Lining - Heading for Rings and Hooks

 Pinch Pleat Linen Curtain Panel for Living Room with Cotton Lining - Heading for Rings and HooksFrom £81.00From £81.00
 - S-fold Linen Curtain Panel with Blackout Lining for Living Room- Heading for Rings and Hooks
 S-fold Linen Curtain Panel with Blackout Lining for Living Room- Heading for Rings and HooksFrom £94.00From £94.00
 - Linen Curtain for Ceiling Track - Unlined Curtain Panels - White, Natural, Grey Colours

 Linen Curtain for Ceiling Track - Unlined Curtain Panels - White, Natural, Grey ColoursFrom £66.00From £66.00
 - Emerald Green Velvet Pencil Pleat Curtains – Unlined or With Blackout, Thermal or Soundproof Lining

 Emerald Green Velvet Pencil Pleat Curtains – Unlined or With Blackout, Thermal or Soundproof LiningFrom £69.00From £69.00
 - Off-White Velvet S-Fold Curtains – Unlined or With Blackout, Thermal or Soundproof Lining
 Off-White Velvet S-Fold Curtains – Unlined or With Blackout, Thermal or Soundproof LiningFrom £69.00From £69.00
 - Linen Curtain for Wavefold Track System - Unlined or With Cotton, Blackout, Soundproof/Thermal Lining - Available in 24 Colours

 Linen Curtain for Wavefold Track System - Unlined or With Cotton, Blackout, Soundproof/Thermal Lining - Available in 24 ColoursFrom £111.00From £111.00
 - Cream S-fold Linen Curtain Panel - Suitable for Rings and Hooks or Track- Unlined or With Cotton, Blackout, Soundproof/Thermal Lining - Available in 24 Colours
 Cream S-fold Linen Curtain Panel - Suitable for Rings and Hooks or Track- Unlined or With Cotton, Blackout, Soundproof/Thermal Lining - Available in 24 ColoursFrom £48.13From £48.13
 - Green Pencil Pleat Linen Curtain Panel - Custom Lining - Custom Width and Length
 Green Pencil Pleat Linen Curtain Panel - Custom Lining - Custom Width and LengthFrom £77.80From £77.80
 - Double Pinch Pleat Aquamarine Blue Linen Curtain with Cotton Lining - Heading for Rings and Hooks - Custom Sizes & Colours

 Double Pinch Pleat Aquamarine Blue Linen Curtain with Cotton Lining - Heading for Rings and Hooks - Custom Sizes & ColoursFrom £109.00From £109.00
 - Wave Charcoal Grey Linen Curtain - Unlined or With Cotton, Blackout, Soundproof/Thermal Lining - Available in 24 Colours

 Wave Charcoal Grey Linen Curtain - Unlined or With Cotton, Blackout, Soundproof/Thermal Lining - Available in 24 ColoursFrom £63.90From £63.90
 - White Blackout Pencil Pleat Linen Curtains - Custom Width, Custom Length
 White Blackout Pencil Pleat Linen Curtains - Custom Width, Custom LengthFrom £76.30From £76.30
 - Grey Blackout Double Pinch Pleat Linen Curtain Panel - Custom Sizes & Colours
 Grey Blackout Double Pinch Pleat Linen Curtain Panel - Custom Sizes & ColoursFrom £109.00From £109.00
 - Wavefold Linen Curtain for Wavefold Tracks
 Wavefold Linen Curtain for Wavefold TracksFrom £117.62From £117.62
 - Sage Green Wave Linen Curtain Panel with Cotton Lining - Suitable for Rings and Hooks or Track

 Sage Green Wave Linen Curtain Panel with Cotton Lining - Suitable for Rings and Hooks or TrackFrom £94.00From £94.00
 - Black and White S-Fold Linen Curtain Panel with Cotton Lining - Custom Width and Length

 Black and White S-Fold Linen Curtain Panel with Cotton Lining - Custom Width and LengthFrom £100.00From £100.00


